How-to: set up ODIS software for both vxdiag vcx nano 5054 and vas 5054a interface.
What is ODIS
ODIS stands for “Offboard Diagnostic Information System” – basically the tool VAG dealerships use to perform diagnostics, and flashing. There are two versions of ODIS, one is called ODIS-S (“Service” aka Diagnostic Tool), and the other is called ODIS-E (“Engineering” aka Diagnostic, Flashing and more”). ODIS-E functions more like VCDS.
Pre-Requisites:
* A Laptop with Windows 7 (64-bit Preferred) – 32-bit works as well with the latest updates / patches from MS
* A VAS5054a clone
Caveats:
Offline mode only, in order to connect to ODIS-Online – you need an account.
I used both this
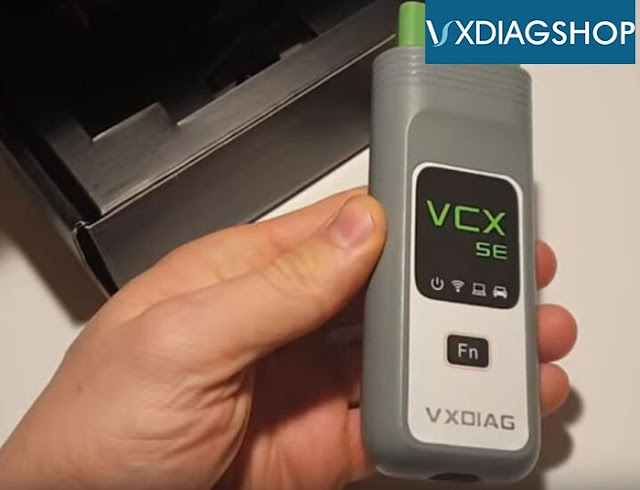
VXDIAG VCX Nano 5054 ODIS and VAS5054a clone. The VCXDiag Nano requires VXManager which installs a specific “PDU connector” for ODIS support, the VAS5054a works with the Softing driver installed out of the box by ODIS installer.
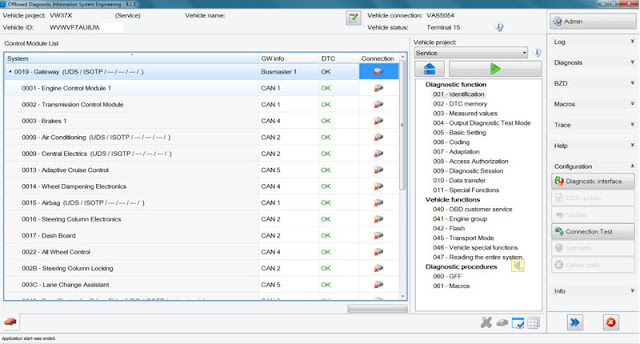
The ODIS-S (S stands for Service – the diagnostic tool) I used is version 4.3.3, and the ODIS-E (E stands for Engineering – more features) I used is version 8.1.3.
Installation went as follows
ODIS-E = ODIS Engineering 8.1.3
ODIS-S = ODIS Service (Diagnostics) 4.3.3
Patches = Softing patches (in case your interface doesn’t work with the version included with 4.3.3)
AllScanner = VX Manager (only required for VXDIAG VCX NANO interface)
[PRE-REQUISITES]
Windows 7 OS – 64-bit with the latest patches from Microsoft
[INSTALLATION-INSTRUCTIONS]
* ODIS-S – Service/Diagnostics (version 4.3.3)
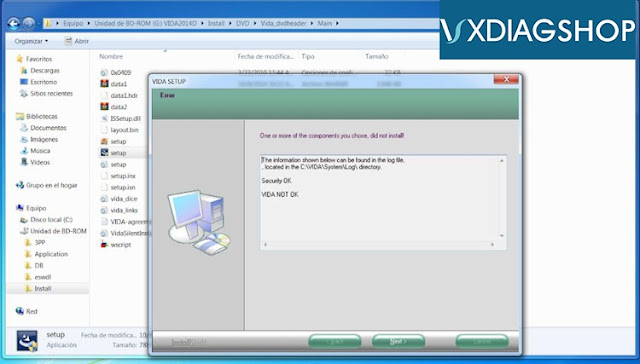
1.1 Navigate to the folder “ODIS-S\1_Installer” then execute “OffboardDiagSetup-Service_VWMCD_4_3_3-B43_3_1_2.exe”
Note: when the installer runs, looks like the text is garbled but you’ll be able to select “English (US)”
1.2 Target Platform should be set to “Standard PC/notebook”
1.3 Diagnostic Interface should be set to “VAS 5054”
1.4 When asked for a “License File” point it to “ODIS-S\2_License_Launcher\license.dat”, make sure [x] Copy license into the installation folder is checked.
1.5 After installation completes, copy the file “ODIS-2\2_License_Launcher\OffboardDiagLauncher.exe” -> “C:\Program Files (x86)\Offboard_Diagnostic_Information_System_Servi ce”
1.6 Execute ODIS-S via the start menu or the shortcut in your desktop as “Run as administrator”
1.7 During first startup, the PostSetup dialog will pop up, “Select local directory” and point it to “ODIS-S\3_PostSetup”, hit OK
1.8 Click on the “Right Arrow” icon no the screen, and select “English (US) (en_US)” then click on the “Right Arrow” icon again.
1.9 It should state that update “51.0.670” is available, click on the “Right Arrow” icon to install the update.
* Softing – Update
1.1 If you have a good VAS5054a clone, copy the file “Patches\pdu_api_root.xml” to “C:\ProgramData\PDU-API” otherwise continue to the next step.
1.2 Merge the folder\files enclosed in the zip file “Patches\ENABLE_CLONE_SOFTING.zip” to “C:\Program Files (x86)\Softing”
Note: you need to merge the files and overwrite, not delete and rename the Softing folder.
1.1 Navigate to the folder “AllScanner” then execute the file “VX Manager 1.4.2.0927.exe”
1.2 When the installer prompts for “Select Components” check both
[x] 1 – PASSTHRU
[x] 10 – VW
1.3 After installation, Plugin USB Cable to computer
1.4 Launch VX Manager
1.5 The Device should be detected as a VCX-NANO, click on the “Diagnostic Icon” then the “Automotive” tab on the left
1.6 Click on “VW ODIS” then hit “Install”
1.7 After it’s installed, you should be able to Run “VW ODIS” from the “My Apps” tab.
* ODIS-E – Engineering (version 8.1.3)
Notes: the installation of ODIS-E is similar to ODIS-S – you start with the installer “ODIS-E\1_Installer\OffboardDiagSetup-Engineering_8_1_3-B81_3_0_1.exe”,
selecting the “ODIS-E\2_License_Launcher\license.dat” for the license. After the installation is complete, overwrite the “OffboardDiagLaunch.exe” in
“C:\Program Files (x86)\Offboard_Diagnostic_Information_System_Engin eering” with “ODIS-E\2_License_Launcher\OffboardDiagLaunch.exe”. Then
run as “administrator” ODIS-E pointing PostSetup to “ODIS-E\3_PostSetup”. After PostSetup is complete, execute “ODIS-E\4_Diag_Module\ODIS-DIAG-MODULES-ENGIN.exe”
which will extract its contents to Drive C.
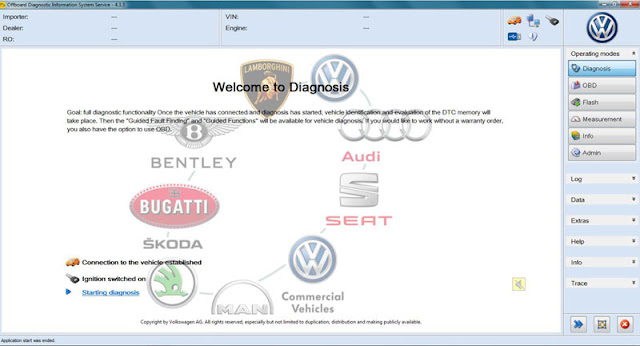
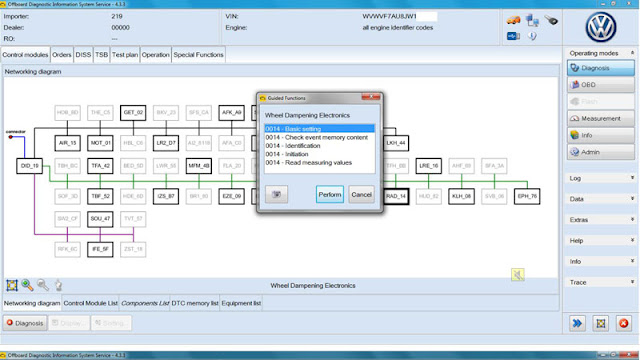
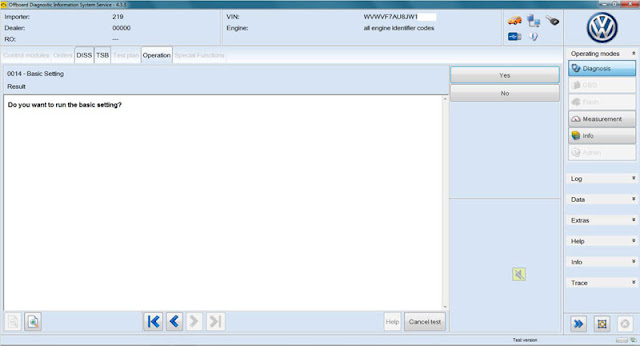
Here’s what ODIS-S and ODIS-E looks like after installation

