2024/05/16

Failed to Open VXDIAG Toyota Techstream Patch Solution

Problem:

One of our customers bought the vxdiag vcx nano Toyota scanner when he tried to crack Techstream in Win10, he managed to run the patch  – Toyota Launcher.exe– as an Admin, it runs and see that Toyota picture, but then nothing happened.

When opened Techstream and it said I had 3 days until he had to introduce the activation key.

What is the solution?

Failed to Open VXDIAG Toyota Techstream Patch

Solved:

Set-up Techstream as usual until it asks you for the Serial Key AND then always open Techstream using Toyota Launcher.exe

The long one in case you didn’t get it:

First of all, Go to Control Panel > System and Security > Windows Defender Firewall > Turn Windows Defender Firewall On and Off (left side menu) AND turned everything off. The Toyota Launcher.exe will be identified as a trojan otherwise and you won’t be able to run it.

Techstream installed – fresh install, copied Toyota Launcher.exe in the Bin folder for Techstream (see tutorial) , VX Manager installed and updated VXDiag dongle to date.

Now, technically Toyota Launcher.exe should open Techstream and you should do the Techstream set-up – company info, location etc. That’s what the VX Diag tutorial tells you to do. But in his case it did nothing. He saw the Toyota picture/logo on grey and they it closed and nothing else. SO:

He opened Techstream from the original exe icon shortcut on desktop and did the set-up filling the boxes exactly like in the tutorial (enter the same numbers and whatnot – until it asked for the Product Key. CLOSED Techstream. Then went into the Bin folder of Techstream where you’re supposed to copy Toyota Launcher.exe and double clicked it again and now it should open Techstream after a few seconds. Now you can see 2d23h59m in the left corner, no key is required and you can connect to your car. Always use Toyota Launcher.exe to launch the program. Delete the original icon shortcut on your desktop and make a new one based on the launcher exe.
The End.

PS: turn on your Win Firewall Defender after you’re done. Toyota Launcher.exe will work after that. If Defender still bothers you, then add the .exe as an exception, go to defender and search the warning and tell the program to leave that .exe alone.

Hope it helps.

www.vxdiagshop.com

2024/05/15

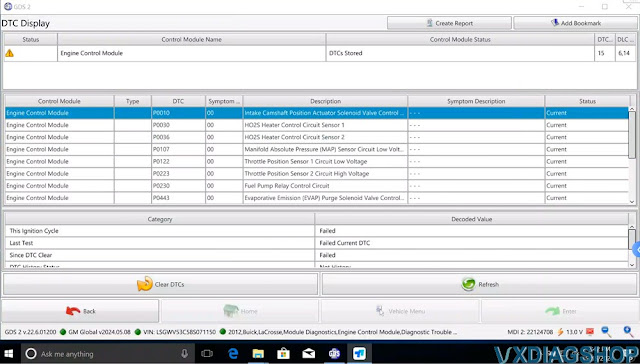
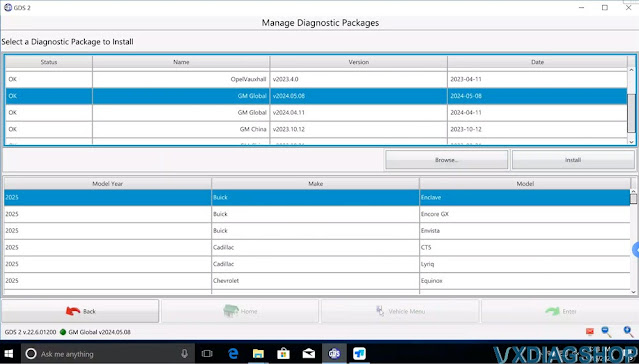
VXDIAG GM GDS2 Update to v2024.05.08

The latest GM GDS2 software V2024.05.08 was tested by vxdiagshop.com engineer without issue.


GDS2 V22.6.01200
GM Global V2024.05.08

GM Global V2024.05.08
GM China V2023.10.12

Opel/Vauxhall V2023.4.0


Compatible devices: 

VXDIAG VCX NANO GM USB/WiFi, VCX CAN FD GMVCX SE, VCX DoIP for GM, MDI2 Clone etc


Supports some Buick Cadillac Chevrolet models till year 2025.

VXDIAG GM GDS2 Update to v2024.05.08  1

VXDIAG GM GDS2 Update to v2024.05.08 2

Where to download GDS2 2024.05 software?


Contact vxdiasghop.com customer service to download latest GDS2 software.

Skype:vxdiag.com
Email:sales@vxdiagshop.com
WHATSAPP:0086-18064450969


Attention: Software downloads are exclusively available to our customers.

Verification Required: Please provide your order number to access the download link.


NOTE:

1. Select the device type as MDI2.

2. Must install DPS software together with GDS2 2024.05.08. Otherwise will report PC Software Installation Error when run GDS2.

VXDIAG GM GDS2 Update to v2024.05.08 3

3. For DPS, two ways to get rid of license expiration problem.

1). Restore the computer date to year 2023.

2). Purchase latest license from DPS.

2024/05/13

VXDIAG Vediamo 5 Not Establish Connection Solution

Problem:

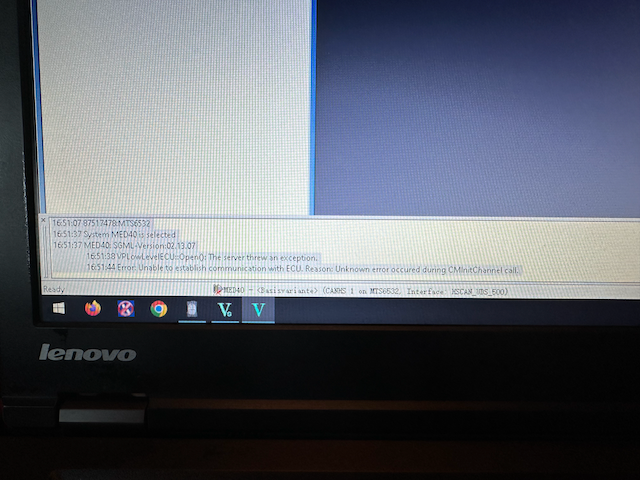
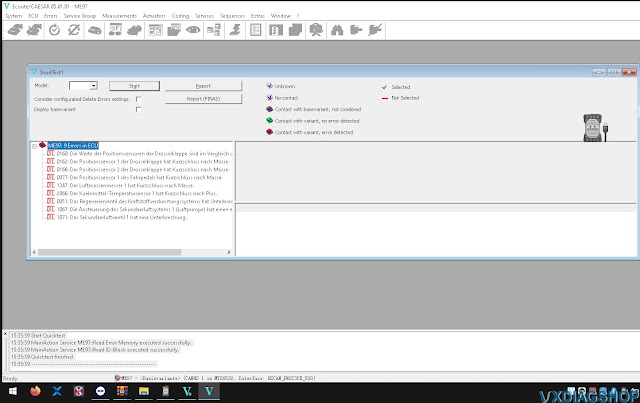
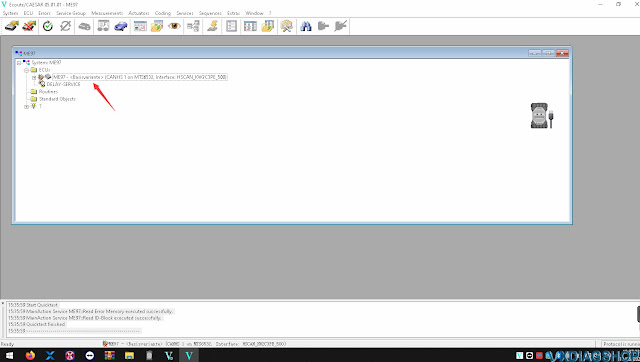
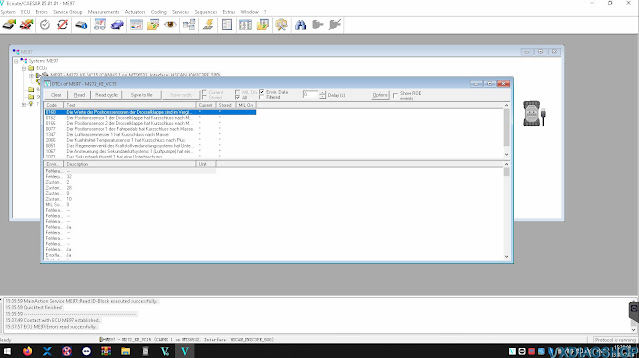
I have set up the VXDIAG VCX SE Benz with Vediamo 5.1 (follow this guide). Vediamo recognises the VXDIAG. But when I want to connect to e.g. MED40 or IC_2204 module with Ecoute , I get an error that the connection with the ECU cannot be established. Se attachment for the detailed error in Ec

The VXDIAG works well with Xentry 09/2023. I use the CBF files from Xentry with Vediamo.

VXDIAG VCX SE Vediamo 5 Not Establish Connection

Here is the clue.

Vediamo 5.01.01 needs a special fix file (slave file) to configure as J2534.

Our customer provides the salve file for vxdiag.

Check new instruction to set up VXDIAG VCX SE with Vediamo

How to Use Vediamo 5 with VXDIAG (Slave File Solution)?

How to Set up VXDIAG VCX SE with Vediamo (Salve File)?

We have shared a common solution to set up Vediamo with VXDIAG VCX  SE/VCX DoIP scanners. The old solution required to modify slave file.


One of Vxdiagshop.com‘s customers provides new slave file for Vediamo 05.01.01.


Only this you need.
Vediamo/Cesaer/Driver – copy paste the file here and replace him
In program files (x86)Vediamo/Cesaer/Driver – copy paste the file here and replace him
And then connect the device run as administrator Vediamo
Update and select only eCom port
Again Update.

Job finish.


If you need the slave file, download

Vediamo 5.01.01 slave

contact us

WHATSAPP:0086-18064450969
Skype:vxdiag.com
Email:sales@vxdiagshop.com


Tested by our engineer, working without issue.

How to Set up VXDIAG VCX SE with Vediamo 1

How to Set up VXDIAG VCX SE with Vediamo 2

How to Set up VXDIAG VCX SE with Vediamo 3

How to Set up VXDIAG VCX SE with Vediamo 4


2024/05/11

VXDIAG PIWIS III Update Porsche Battery After Change Out

Instruction: Updating your Porsche vehicle Battery with VXDIAG Porsche PIWIS III.


The PIWIS software is a bit odd and not always straight forward, so we share how to update the battery after changing it out.

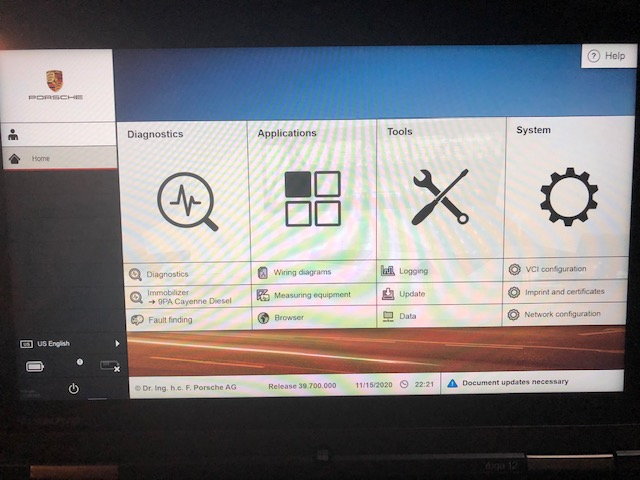
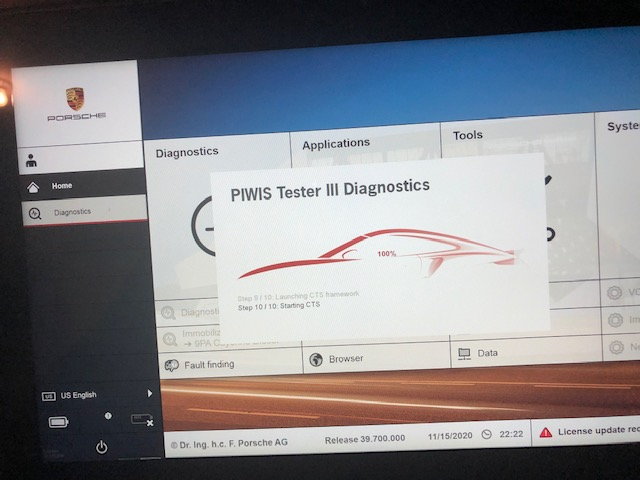
Opening screen – select Diagnostics

VXDIAG PIWIS III Update Porsche Battery 1

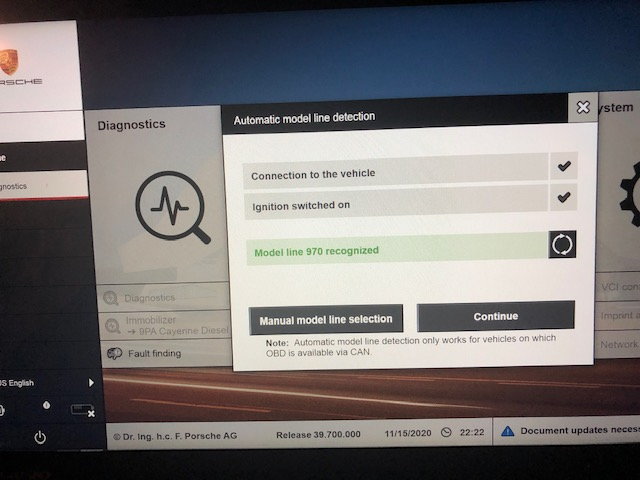
you can manually select your car or wait for the auto-detect

VXDIAG PIWIS III Update Porsche Battery 2

once selected, the software will start communicating with the car.

VXDIAG PIWIS III Update Porsche Battery 3

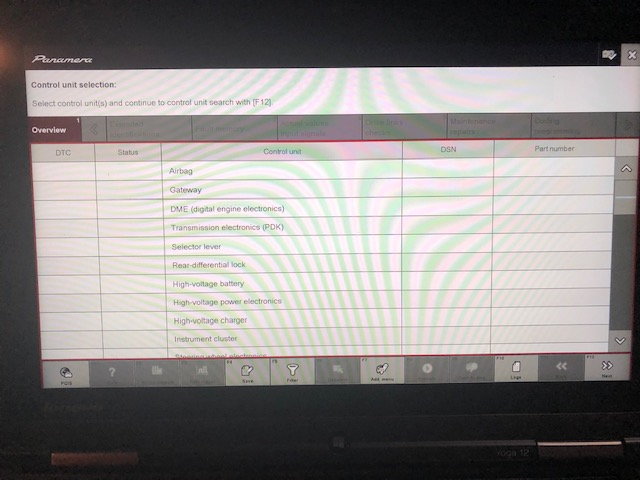
you can just hit F12 at this point

VXDIAG PIWIS III Update Porsche Battery 4

VXDIAG PIWIS III Update Porsche Battery 5

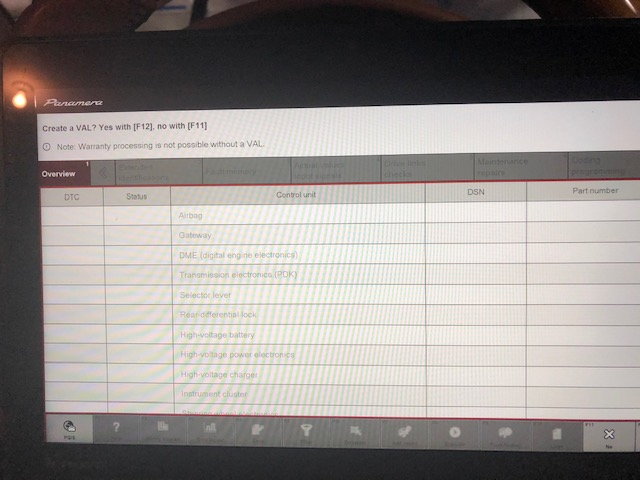
after a couple minutes this screen will appear, you can just hit F11(no) as it is only necessary warranty repairs

VXDIAG PIWIS III Update Porsche Battery 6

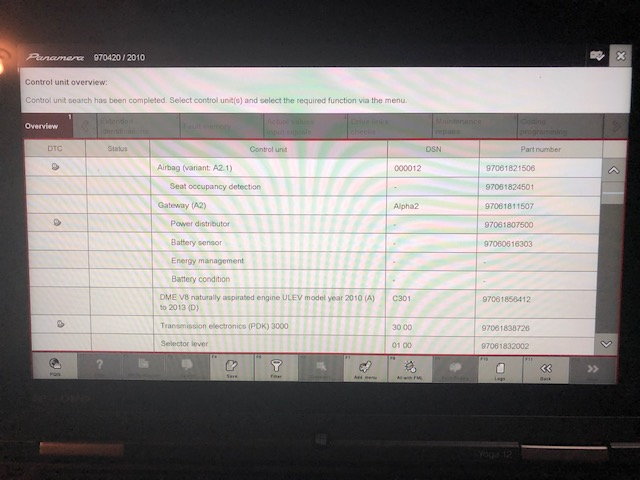
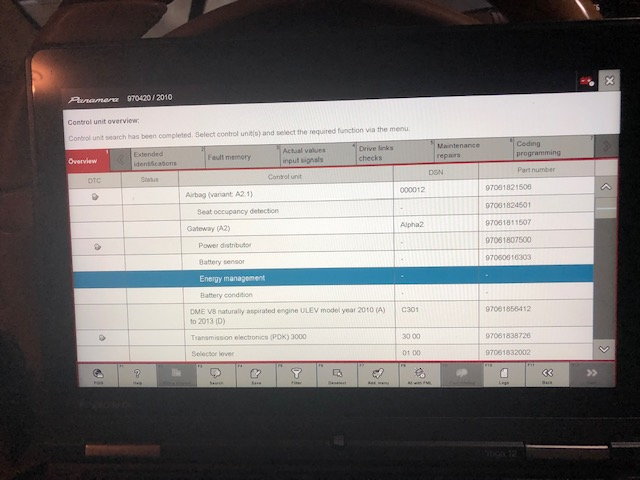
once this screen comes up, select “Energy Management”

VXDIAG PIWIS III Update Porsche Battery 7

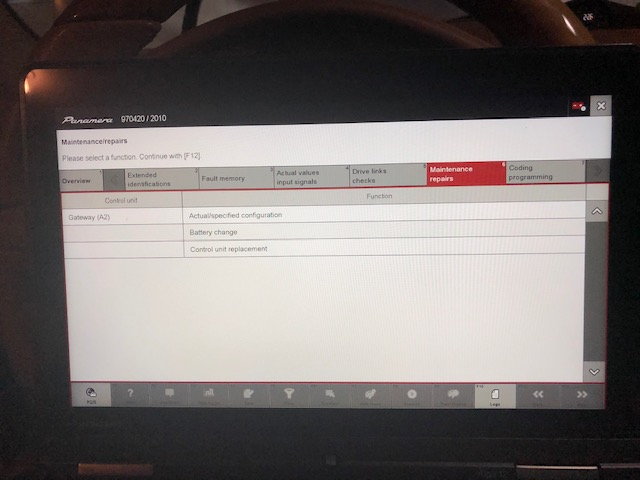
then select the Maintenance / repair Tab

VXDIAG PIWIS III Update Porsche Battery 8

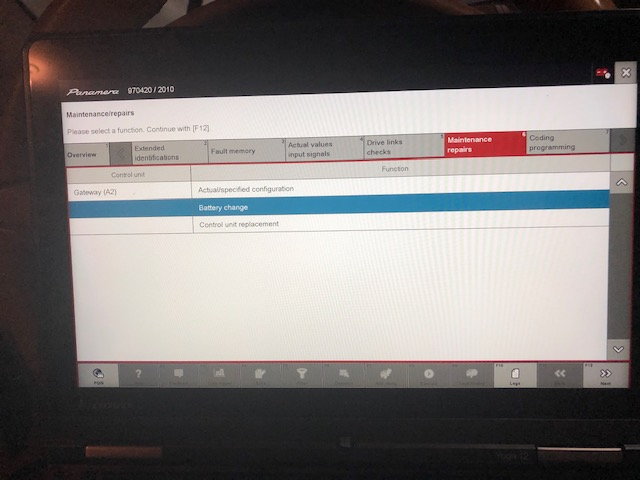
things get more straight forward at this point, select Battery Change and hit F12

VXDIAG PIWIS III Update Porsche Battery 9

VXDIAG PIWIS III Update Porsche Battery 10

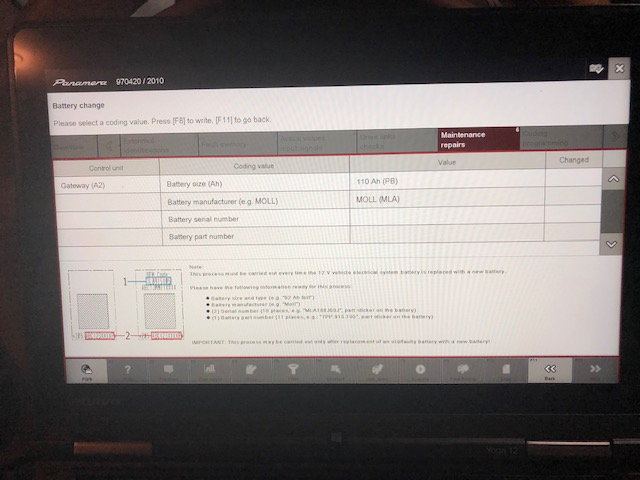
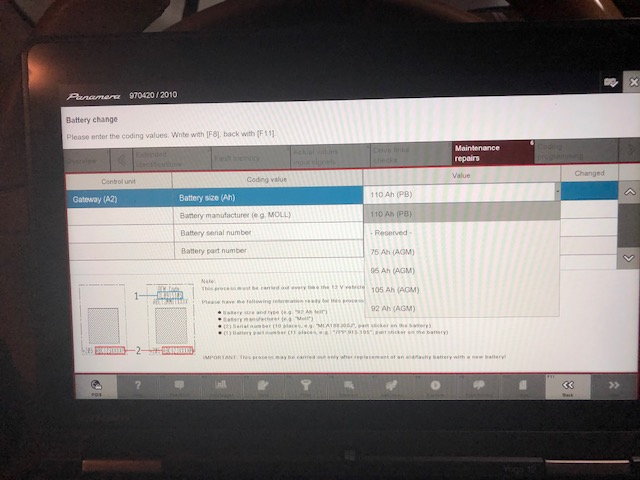
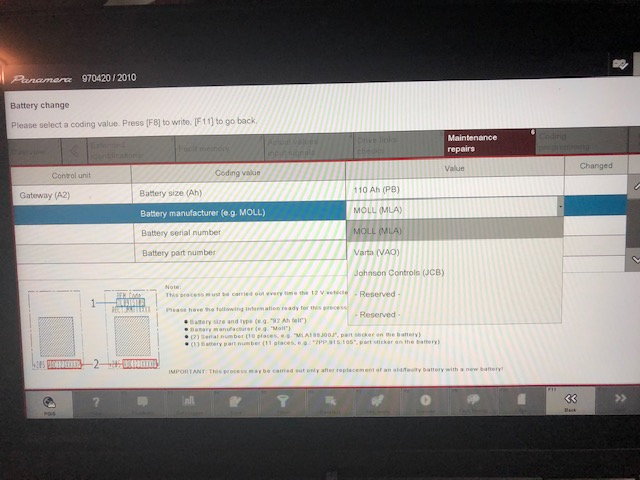
you can now select the battery typre, size and manufacture

VXDIAG PIWIS III Update Porsche Battery 11

VXDIAG PIWIS III Update Porsche Battery 12

VXDIAG PIWIS III Update Porsche Battery 13

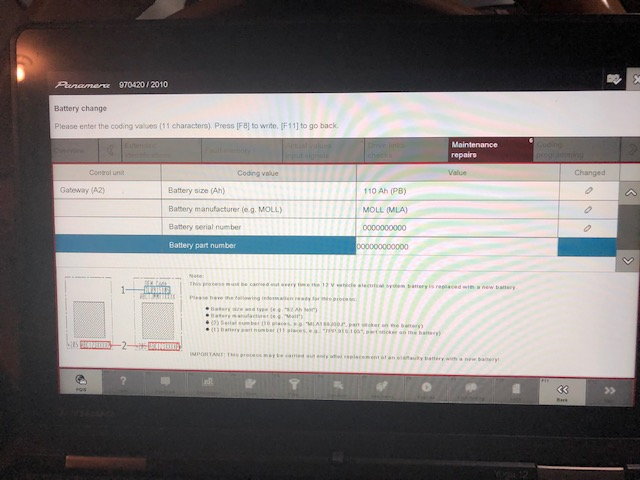
as noted elsewhere you can simply enter Zero’s for the serial number and part number, once you’ve entered both hit any of the write (pencil) buttons and you are done.


www.vxdiagshop.com