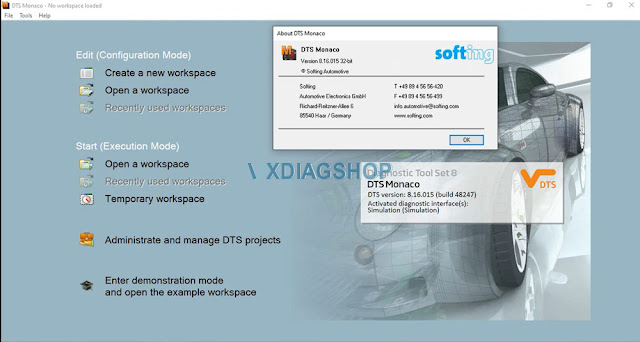
Mercedes Benz DTS Monaco engineering user guide (step-by-step user manual 2019) download free.
Sharing for all users. Credit to all MHHAUTO contributors.
DTS Monaco How-to 2019
I. DTS Monaco- Basic knowledge- Part ONE
1.0 Getting Started
1.1 Preparation of CBFs for Carlines
1.1.1 How to find the CBF and SMR-D Folder
1.1.2 Explanian of ECUs and CBF names
1.1.3 Explanians for SMR-D Files
1.2 Implementation of ECU database
1.2.1 DTS 8 project import
1.2.2 CBF- Daimler database files import
1.2.3 SMR-D Modualr optimized databases import
1.3 Opening certain diagnose areas
1.3.1 Directly to ECUs
1.3.2 Adding a tab to a area
1.4 Certain important procedures
1.4.1 Hard Reset
1.4.2 EEPROM Write
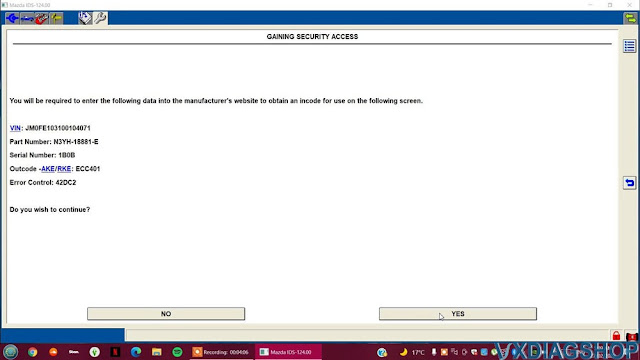
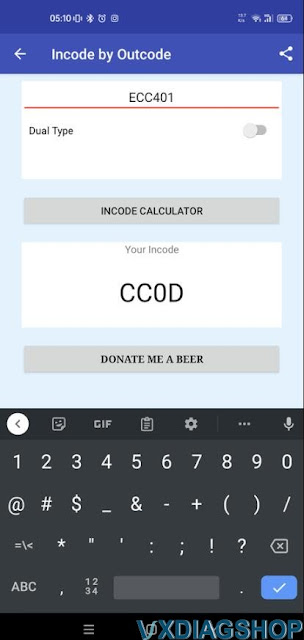
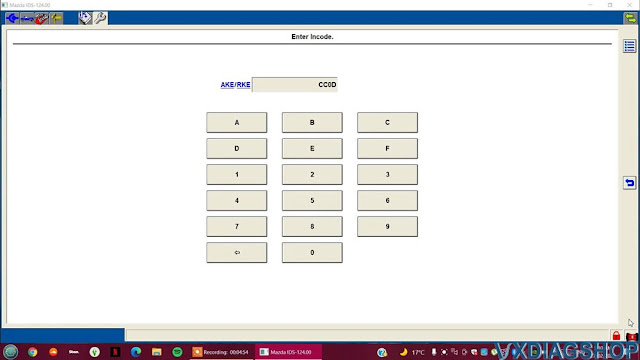
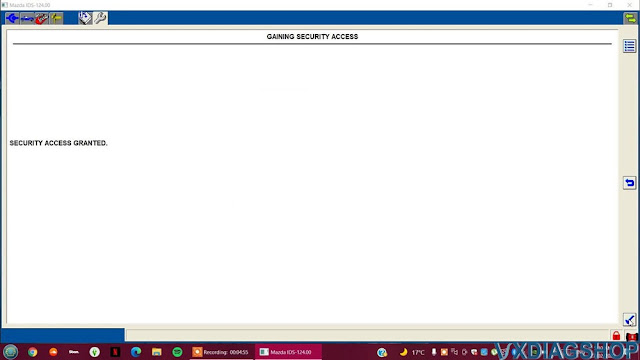
1.4.3 ECU secure access for coding
1.4.4 Variant coding
1.5 Backup
1.5.1 Backup ECU ID Info
1.5.2 Backup variant coding
1.5.3 Backup measurement and calibration data
1.6 Restoring ECU data
1.6.1 Restore variant codings by copy & paste
1.6.2 Restore measurement/calibration data from former ECU
1.7 Seed key explainations
1.7.1 ECUs with seed key
1.7.2 UDS/Manual Method- Seed key insertion
1.7.3 Seed key request from tree
II. DTS Monaco – Variant coding Part Two
2.0 Possible codings and changes in certain carlines
2.0.1 R171
2.0.2 R230
2.0.3 R172 R231
2.0.4 W203 S203 CLC W463
2.0.5 W204 S204 X204
2.0.6 W205 S205 X253
2.0.7 W211 S211 W219 W209
2.0.8 W218 X218
2.0.9 W212 S212 A207 C207
2.1.0 W213
2.1.1 W176 W246 W117 C117 X117 X156
2.1.2 W251 W164 X164
2.1.3 W166 X166 W292
2.1.4 W221 W216
2.1.5 W222 W217
2.1.6 W447 Vito
2.1.7 W639
2.1.8 W169 W245
2.1 Turn signal flasher changed from 3x to 5x & closing signal flash number
2.1.1 Carlines: 117 156 166 W176 W246 C292 463
2.1.2 Carlines: 172 190 197 204 207 212 218 231
2.1.3 Carlines: W203 similar to W205
2.1.4 Carlines: W205 217 222 W253
2.2 Command NTG4
2.2.1 CD ripping mode
2.2.2 Show speed limit signs (map data)
2.2.3 Command Language change
2.2.4 DVD Region change
2.2.5 Show speed limit signs (mpc/Camera data)
2.3 Instrument cluster
2.3.1 Turn on the remaining fuel liters
2.3.2 Daylight menu activation
2.3.3 ESP off menu activation
2.3.4 Deactivate Seat Belt Warning
2.3.5 MPC end of speedlimit show
2.3.6 Changing tire pressure unit- Psi to bar
2.3.7 Changing temperture unit
2.3.8 W212 activate language menu in cluster
2.5 Door closing, opening sound and volume change
2.6 Start/Stop function
2.7 Speed limit assistant GLA- activate all countries
2.8 Deactivate tire pressure control system
2.9 Vmax change
2.9.1 Possible velocities due to engine and carline
2.10 Pedal characteristic curve-faster engine response
2.11 PDC- acustic signal at first led
2.12 Hold function- after pushing brake once totally and second time then brake will be hold
2.13 Hill start function- keeps the brake at a hill in braking position
2.14 Sidemarker ECU options
2.14.1 Turn on sidemarker when turn signal
2.14.2 Sidemarker activation even if USA coding is missing
2.14.3 W205- Disable sidemarker- US to ECE conversion
2.15 Air condition
2.15.1 Temperature offset to set the air condition colder
2.15.2 Ventilation cars in display turned on in auto modus
2.15.3 temperture change shown in Command dispaly
2.15.4 Change country coding
2.16 Command NGT 4,5 layout template to papyros or silver
2.17 Change of chassis height and damping to AMG
2.18 Deactivation of airmatic dure to hardware change of chassis
2.19 Turn on LED bow with daylights
2.20 Retrofit- Adaptitive Highleam Assit Code 608
2.21 HU5 posibilities
2.21.1 AMG starting
2.21.2 Turn on Engineering mode
2.21.3 Speedlimit assistant in comand
2.21.4 Video in motion VIM enable
2.21.5 Language change
2.21.6 Turning on of ripping feature for CDs
2.21.7 Turning on AMG desgin variant
2.21.8 AMG Sport option- needs to be tried out
2.21.9 Video in motion
2.22 Command NTG 5.5
2.23 Exhaust sound design by engine ECU
2.24 Drive dynamic function by Engine ECU
2.25 Turning off car level sensors
2.26 Retrofit AMG parameters to NTG 5.x
2.27 MP4 Trucks- vmax change-seed key need
2.28 Retrofit MPC camera
2.29 Turning on curvematic
2.30 Retrofit blind Spot
2.32 W212 or other Taillights US to ECE- blinker coding
2.32 W212 Static LED to Dynamic LED
2.34 Polish language or other in HU5_ENTRY
2.35 W205 Halogen to static LED
2.36 W205- Tailight blinker US to ECE
2.37 W205 retrofit full LED taillights
2.38 Trunk lid key closing
2.39 KI221 AMG BRABUS Dumps
2.39.2 Key warning if leaving car
2.39.3 Turning on pressure control
2.39.4 KI221 Menuactivations
2.39.5 Turning off seabelt warning
2.40 DLR- Change daylight color into blue
2.41 Activate EDW- Alarm system- Basic by horm
2.42 IC scale at day bright-W212 Facelift
2.43 W205 Ambientlight
2.44 Deactivation of value exhaust systems
2.45 Seat heatingn highler
2.46 Deactivation of break wear warning
III. Millage check- which ECUs are involved.
3.1 Millage ECUs
3.2 Millage in keys
IV. Flashing a ECU
4.1
4.1.1 How to find the correct CFF
4.1.2 How to find the correct Telematic disks
4.2 Flashing a ECU with one CFF
V. Procedures
5.1 Sync IC to EZS 204
5.2 SBC Renew/reset by DAS
5.3 Entering Engineering Menu NTG 4.5/4.7
5.4 NTG 4.5 DVD video not activated after flash
5.5 KUB lock up
5.6 NTG 2.5
5.8 FVDI Tool -KI/IC EEprom read/write
5.9 IC204 from MY2012 to MY2014
5.10 Delete crashevents
5.11 Keyless go IC says key battery empty
6.1 Retrofit 204 rear led lights with DAS
6.2 Retrofit antitheft option- EDW-DAS
6.3 W169 W245 speedlimiter
6.4 W205 retrofit full led taillights
6.5 W176 folding mirrors
6.6 205 keyless go entry
6.7 SLA GLA TSA Speedlimit assist for certain carlines
6.8 Activation of drive dynamic seats R231 W212
6.9 Rear facelift lights A207 C207 W212 S212
6.10 Reat camera
7. Activation of AMG Menu
7.2 Regular coding services
7.3 Telematik disks
www.vxdiagshop.com

