2021/04/29

Solve GDS2 Crashes After Select VXDIAG Device?

Problem 1:
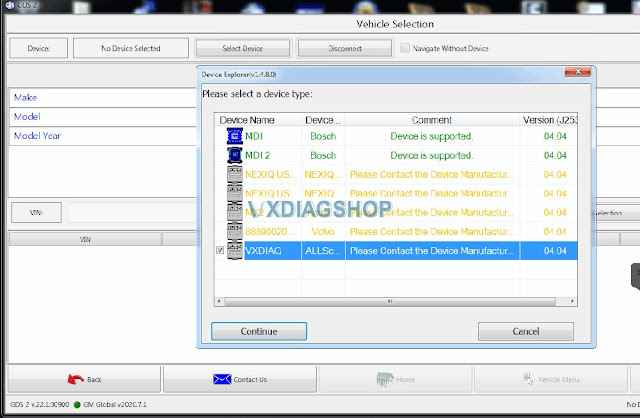
I got a problem when running gds2 software of the vxdiag vcx nano gm device. The software crashed after selected VXDIAG as the device type.

vxdiag vcx nano mdi2 device

Solution:

Select MDI2 device type instead of VXDIAG Allscanner to connect.


Problem 2:

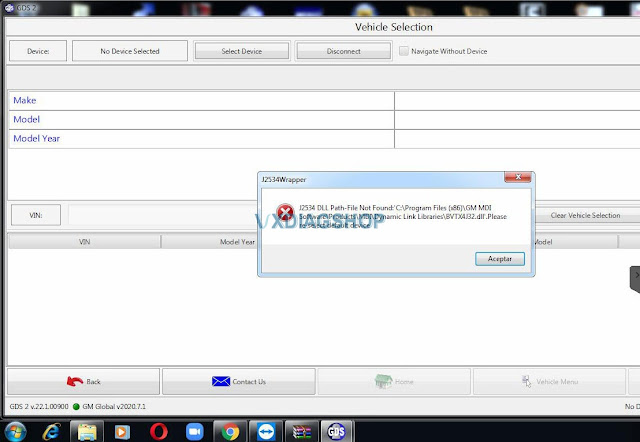
It communicates with gm vcx nano by selecting MDI2 device. I got another error “J2534 DLL Patch-file not found”

vxdiag-vcx-nano-gds2-J2534 DLL Patch-file not found”


Solution:

Make sure Passthru and GM software are selected when install VX Manager driver.

If still not working, download and install the software again.

https://www.vxdiagshop.com/info/vxdiag-diagnostic-software-download-4048.html


VXDIAG VCX NANO GM & GDS2 Installation Manual

2021/04/28

VXDIAG Xentry 03/2021 Serious Fault 2.27 Solution

Problem:

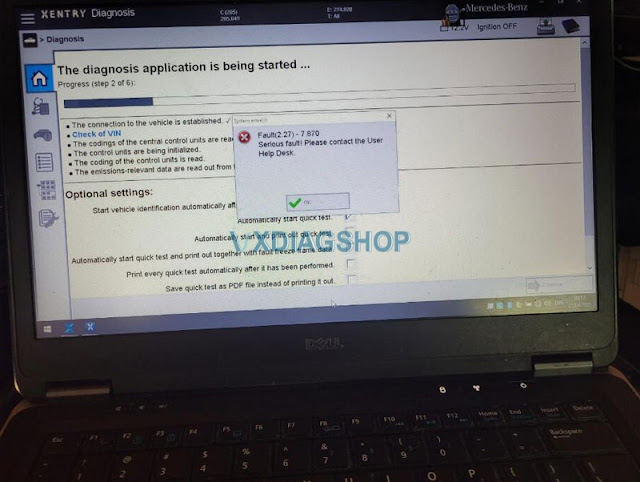
I am ready to test a E class W205 with vxdiag benz c6 doip scanner, xentry (03/2021) reported an error:

“Fault (2.27)- 7.870 Serious fault! Please contact the User Help Desk”. Any idea how to solve this problem?

Fault (2.27)- 7.870 Serious fault


Vxdiagshop.com working solution:

Install latest C6 VCI Manager driver and try again.

https://mega.nz/file/3QY2FJIS#J_IAyIYyGvNLnxVr6AaUUby-jk_M5NWQxT-IbPU7gzk


Test feedback:

Xentry is working now. Thanks for help.

VXDIAG Old Xentry “No Access Authorization Code” Solution

Have VXDIAG Benz C6 xentry 12/2018 and need help overcome this error “No access authorization code” so that xentry is working.

vxdiag-c6-old-xentry12-2018


Solution:

For xentry 12/2018, it is old software, so please update the firmware version and driver in VxManager, then re-activate.


How to activate VXDIAG Benz C6?

Do follow this blog:

http://blog.vxdiagshop.com/2019/12/27/activate-2019-12-vxdiag-benz-c6-xentry/


Good to know:

For the old Xentry version, you need to activate.


For the newest Xentry version, it comes with keygen and no need to activate.

 2021.3 500GB Software SSD with Keygen for VXDIAG Benz Star C6


2021.3 500GB Software HDD with Keygen for VXDIAG Benz Star C6


Look at the images of Xentry 2021.3:

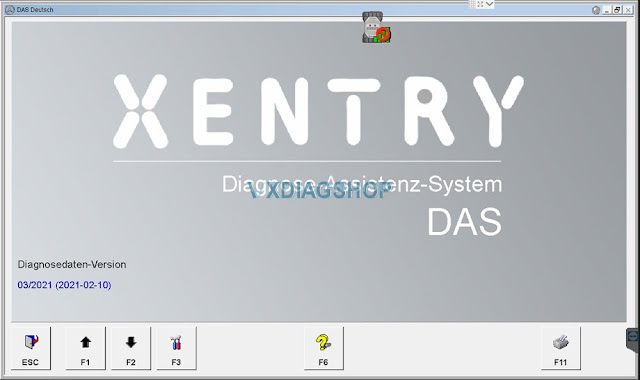
2021-03-vxdiag-c6-xentry-1

2021-03-vxdiag-c6-xentry-2

2021-03-vxdiag-c6-xentry-3

2021-03-vxdiag-c6-xentry-4

2021-03-vxdiag-c6-xentry-5

2021-03-vxdiag-c6-xentry-6


2021/04/27

VXDIAG VCX SE Benz test with DTS Monaco

VXDIAG VCX SE Benz DoIP DTS Monaco Software does not require activation and ready to use (requbenzire vxdiag benz device well connected). Here we test vcx se c6 connection with DTS Monaco via WiFi to check the stability of the device using the example of 2015 W212 hybrid, connect it to Command 5.1!

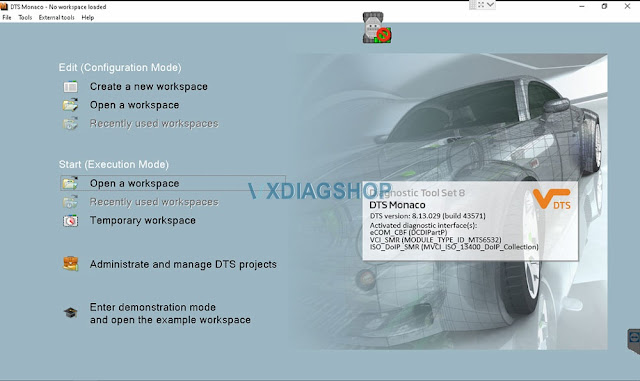
vxdiag-vcx-se-benz-dts-monaco-1

vxdiag-vcx-se-benz-dts-monaco-2

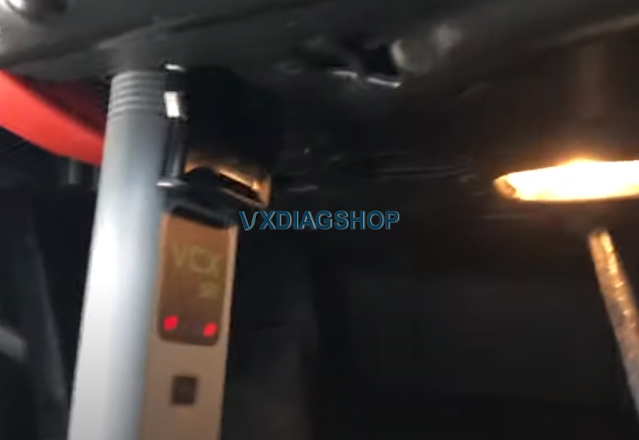
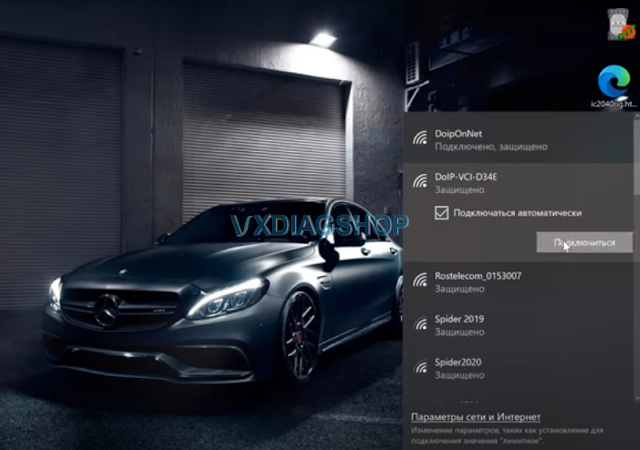
We connect it to the car. Search WiFi and connect it via wifi mode.
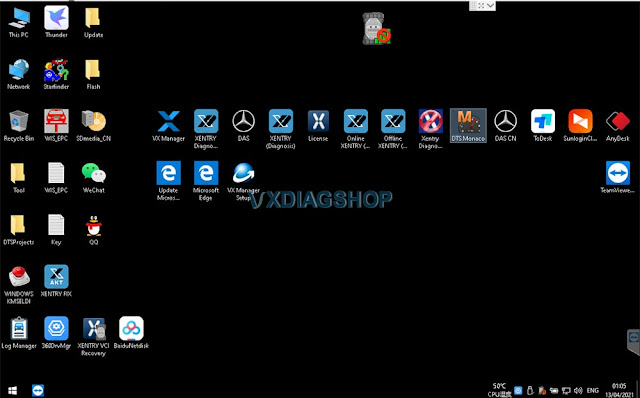
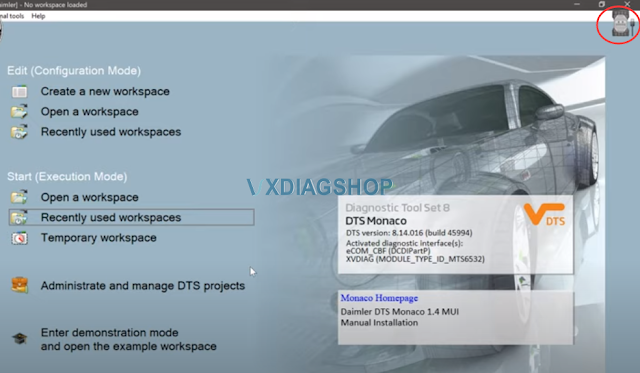
The car tested is a 2015 w212 hybrid, we wait for the device to start, we connect to it, we see that it is connected, it is available, we launch DTS Monaco software on desktop.
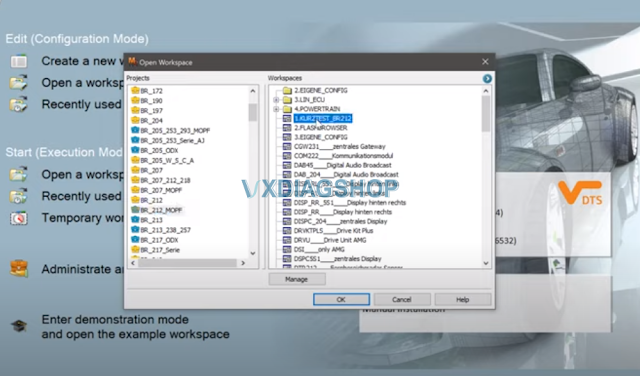
We see that we have a device, selects projects from Monaco. First time using the DTS requires to Create a new workspace.  Here we just open a workspace.

vxdiag-vcx-se-benz-dts-monaco-3

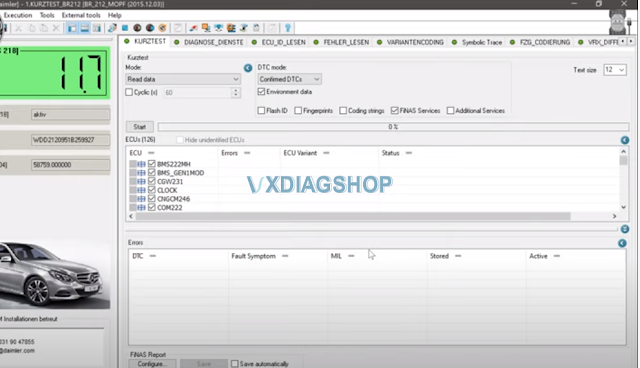
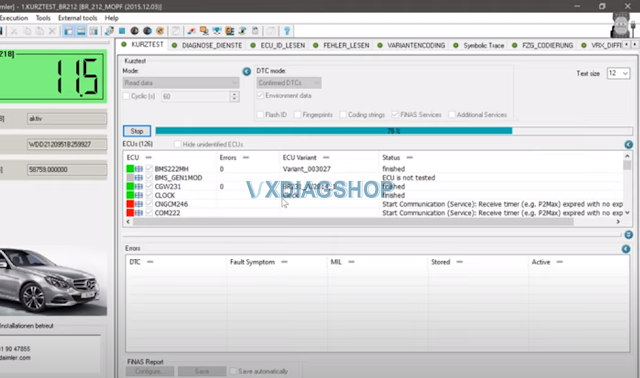
KURZTEST allows you to carry out all the diagnostics, you can also start the process, it will read all the modules

vxdiag-vcx-se-benz-dts-monaco-4

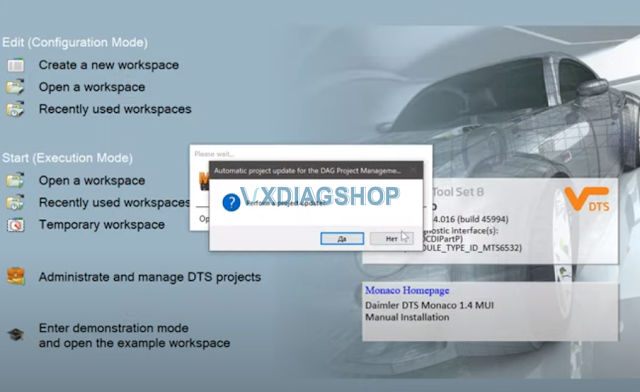
DTS asks to update the projects, press YES to update

vxdiag-vcx-se-benz-dts-monaco-5

The vxdiag se doip Benz works well with dts Monaco. I can’t say anything bad, it works quickly. We are waiting for the connection.

We see the window in the upper right corner that we have a VCI device connected.

vxdiag-vcx-se-benz-dts-monaco-6

Monaco started, we see the onboard voltage here shows in the ignition lock.

vxdiag-vcx-se-benz-dts-monaco-7

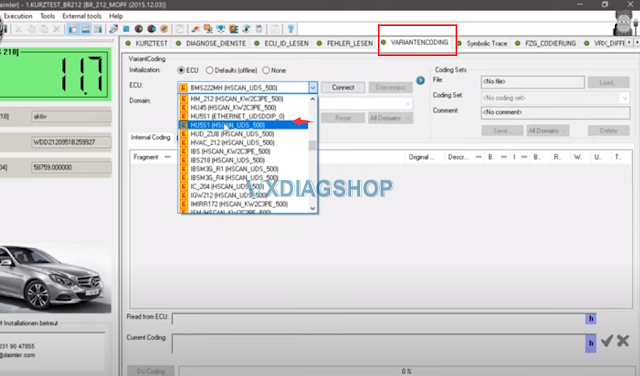
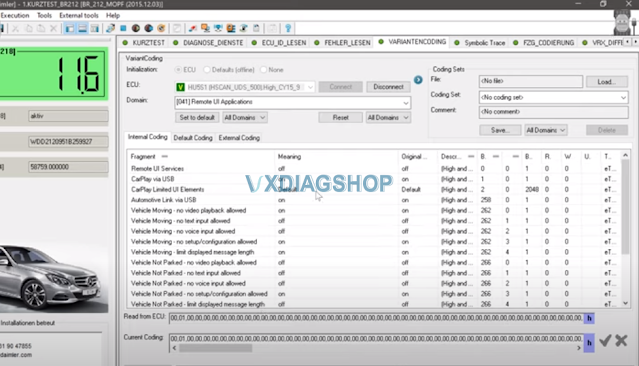
We start the variant encoding
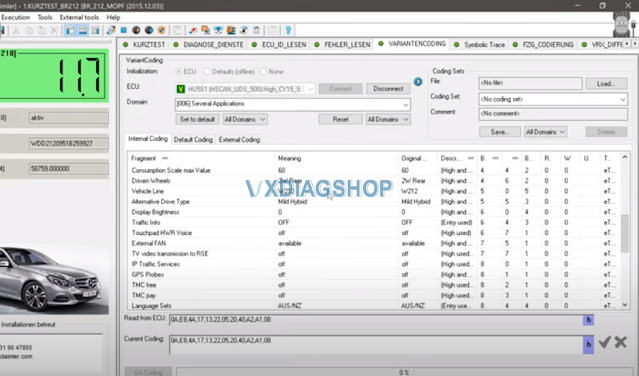
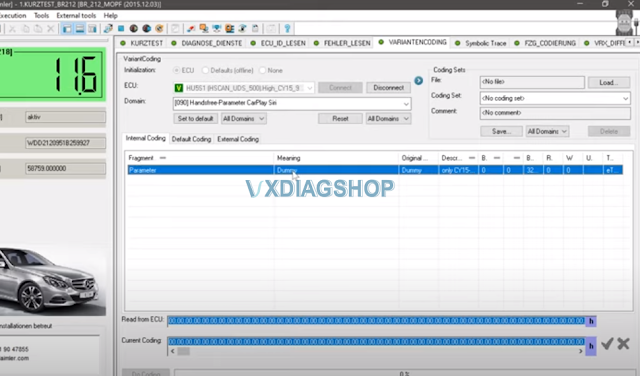
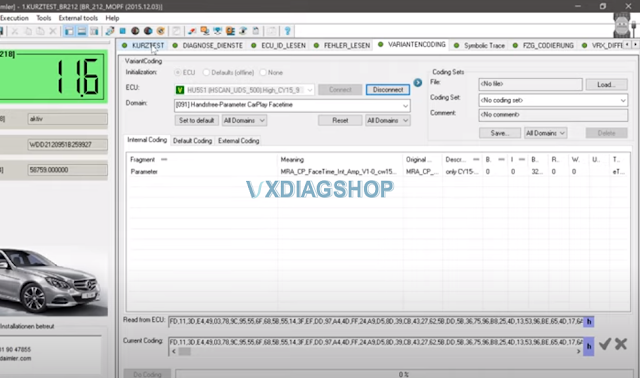
We will see the example of Comand version 5.1, we see that we find all the encodings.
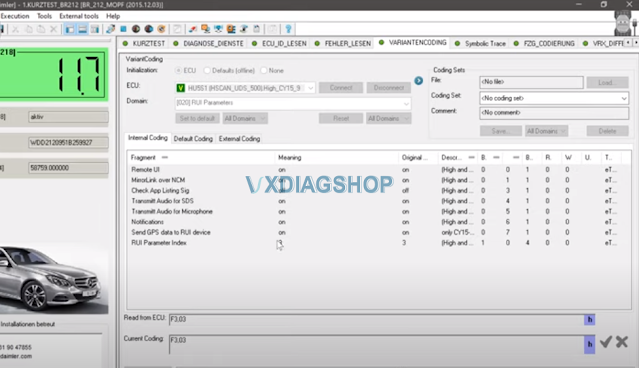
We can choose any encoding, everything opens instantly, everything is visible, all codings are visible.
You can make changes, encode without problems, that is the device copes with its function.

vxdiag-vcx-se-benz-dts-monaco-8

vxdiag-vcx-se-benz-dts-monaco-9

vxdiag-vcx-se-benz-dts-monaco-10

vxdiag-vcx-se-benz-dts-monaco-11

All those encodings that are not enabled via Openport
Vxdiag everything starts up pretty quickly
He reads all encodings, as I said, in this command 5 and higher, there are a lot of encodings, quite advanced devices there are a lot of additional settings.

vxdiag-vcx-se-benz-dts-monaco-12

For a short test, you need to create your own project
Upload everything there so that it counts normally
We are waiting for him to count the short test

vxdiag-vcx-se-benz-dts-monaco-13

vxdiag-vcx-se-benz-dts-monaco-14


We see that through Monaco, it enters the units and reads it.
Wait for the short test to complete. vxdiag Vcx se benz doip works fine.
It is quite usable, you can use and code using this vcx se Benz.


Read also:

How to Use DTS Monaco for HU5 Ethernet DOIP Programming?

How to Set up DTS Monaco for VXDIAG Benz C6?

2021/04/26

Free Download VXDIAG ODIS 7.1.1 and Postsetup

VXDIAG VCX NANO and Multi tool for VAG OD-IS software released new version 7.1.1 in April 2021.


VXDIAG VAG ODIS 7.1.1 free download:
https://mega.nz/folder/OExQQLyK#t43rbWy7gVUwFd-6THzbGg 
Software including:
ODIS 7.1.1
Postsetup
ELSA
ETKA
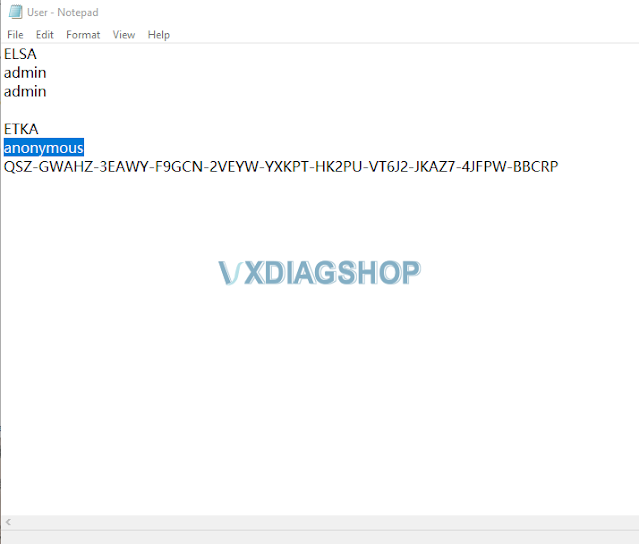
Check ELSA &  ETKA user name and password on the Notepad.
odis-7-1-1

Operating system: Windows 10
Software in 2TB HDD in Win10 based.
Supported car brands:

VW Audi Skoda Bentley Lamborghini


Compatible VXDIAG diagnostic tools:

VXDIAG Full, VXDIAG VCX 3 in 1, VXDIAG VCX SE Pro, VCX NANO VW


Multi-language:
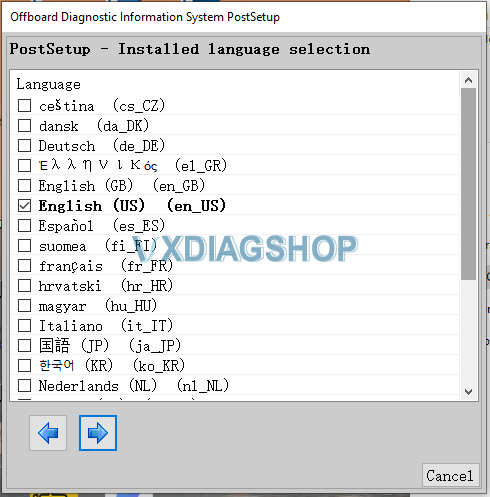
Czech, Danish, German, Greek, English, Spanish, French, Italian, Japanese, Korean, Dutch, Russian, Polish, Chinese, Turkish, Portuguese, Burmese, Finnish, Romanian,Hungarian,Swedish
odis-language-1

odis-language-2


Function:
It allows vehicle control units to be identified and entries in event memory to be read.
It also supports vehicle repairs using guided fault finding.
Functions such as test instrument support, flash re-programming control units and vehicle self-diagnosis extend the range of applications.

2021/04/24

Swap Forester 2015 Cluster with SSM3 or SSM4

I swapped in a 2017 Limited instrument cluster into my 2015 Subaru Forester Premium and after hours of research and testing, I have succeeded in doing it without dealer assistance. I’ll go over everything I figured out along the way and describe it with as much detail as possible. The cluster has been installed for about 4 days now with no issues. I am also writing this up because there seems to be no tutorials about this anywhere online.


DISCLAIMER!
I am going off of what I’ve found to work with my car. Certain clusters may not work with your vehicle, so do your research before attempting to swap units. I am not responsible if you accidentally brick your Immobilizer system in the process It’s highly unlikely but it’s still a possibility. This guide is focused around those who have keys. I am not to sure about the keyless systems. I should also state that clusters with EyeSight enabled are NOT compatible with Foresters that don’t have it and vice versa.

Tools you’ll need 
1. Laptop with either Subaru Select Monitor 3 or 4 installed.
2. Communications box (such as VXDIAG Subaru or the really expensive Denso units that the dealerships use).
3. (If you’re using Select Monitor 4) Tactrix Openport 2.0 (I used SSM3 but this is the cheaper option) .

Let’s get to it!


Prepping 
1. Remove the two screws holding the bezel around the gauge cluster then, pull on it to remove.
2. Once the bezel is out of the way, remove the last four screws holding the gauge cluster in but don’t remove just it yet.
3. Boot up SSM 3 or 4 and stay on the main menu.
4. Start the car.
5. While your car is on, remove the old cluster.
6. Plug in your new cluster, make sure everything works. Multiple lights will be on such as the airbag and CEL. (You can clear those later).
7. Turn off the car and turn the key immediately into the ON position. (Do NOT remove the key, if you do you’ll have to start over).

Programming
Getting to the immobilizer section in 3 is different from 4 I’ll get into that here.
1. In the SSM4 main menu select “Immobilizer and Registration”.
1A. From the SSM3 main menu select “All Other Models” and then “Immobilizer”.
2. SSM4 should ask you for you vehicle type (mine was type b) while 3 should detect it automatically
Form here on out the programming process is the same on both.
3. When the “System Check” window pops up hit “Yes”.
4. When the “Smart System” window pops up hit “No” if you don’t have it “Yes” if you do.
5. When the main menu for the Immobilizer system opens select “Immobilizer Key ID Deletion”. The system will delete all keys registered, except for the one in the ignition.
6. Next, head into “Immobilizer System Registration” this will force the used cluster to learn your keys.
7. The registration will begin. You have 30 seconds to swap keys before it resets.
8. The system can store up to 4 keys. Once the final key is programmed wait 30 seconds for SSM to exit the registration process. Do not click exit/cancel.
9. Head into the “Diagnostics” tab in SSM.
10. Select all DTC and when it’s done reading the codes clear them. They should never comeback (except for one, read the end).
11. You’re done! Exit SSM safely and take the key out of the ignition. The cluster should recognize your keys now and allow you to start the car.
12. Enjoy your new instrument cluster!


Registering The OEM Remote Start

1. With the new cluster programmed head into SSM 3/4 and go into the Immobilizer tab again. Select “Remote Engine Start CM Registration”.
2. The system will register your remote start without you having todo anything and should take no more than 30 seconds.

Conclusion

Like I said in the beginning of the writeup, this was done on my ’15 Premium I missed the electroluminescence that I had on my 2010 (with a Touring cluster from a 2011). There’s this one code (U0140, Combination Meter: Lost Communication with BCM) that won’t seem to go away however, the cluster is working just fine with no dash lights and I passed the NYS inspection today with it so I’m just going to ignore it. There is no way to manipulate MID on the cluster since the switches on the steering wheel control the MFD on the dash. I can live with it like this though if someone has the wiring diagrams to the cluster’s harness that would help me A LOT and I don’t feel like swapping out my HVAC and radio dash trims to the ’17 ones while adding in the switch below the hazard button. I’d much rather utilize the blank switches near the traction control off switch. I hope I explained this well and I hope it was clear.


Images:

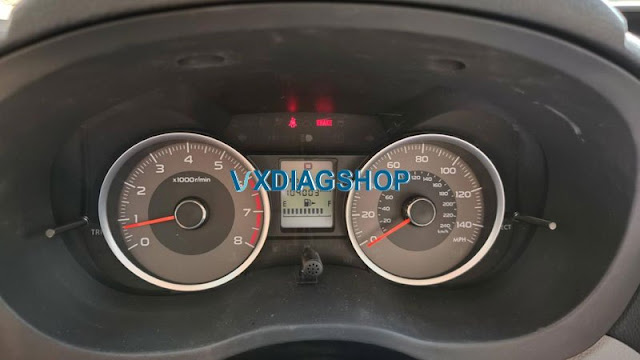
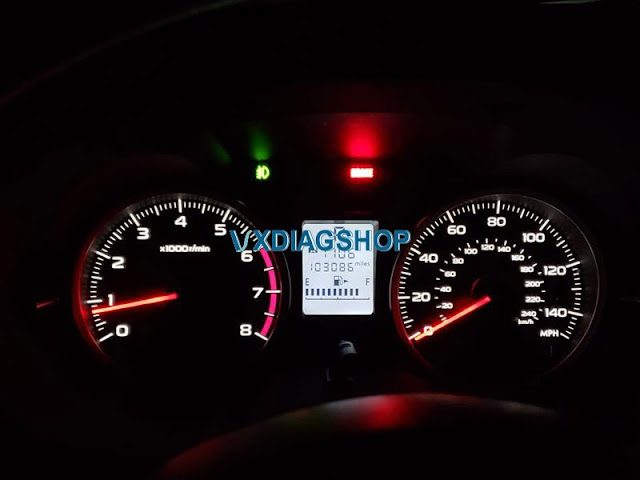
Before, daytime (swapped faceplate and needels to look like a basic limited 14-16)

subaru-forester-clustert-swap-with-ssm3-1


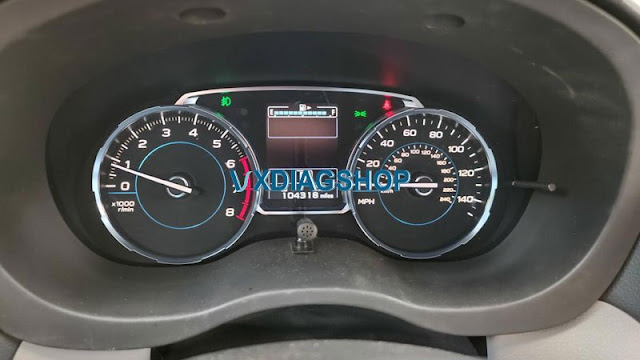
After, daytime

subaru-forester-clustert-swap-with-ssm3-2


Before, night (converted backlighting to white, originally red)

subaru-forester-clustert-swap-with-ssm3-3


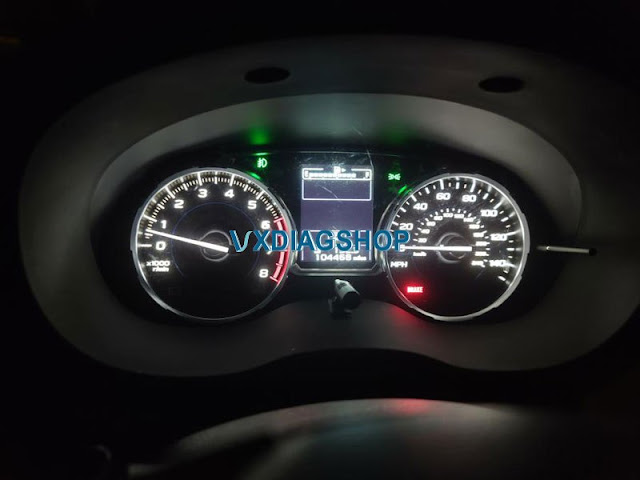
After, night

subaru-forester-clustert-swap-with-ssm3-4


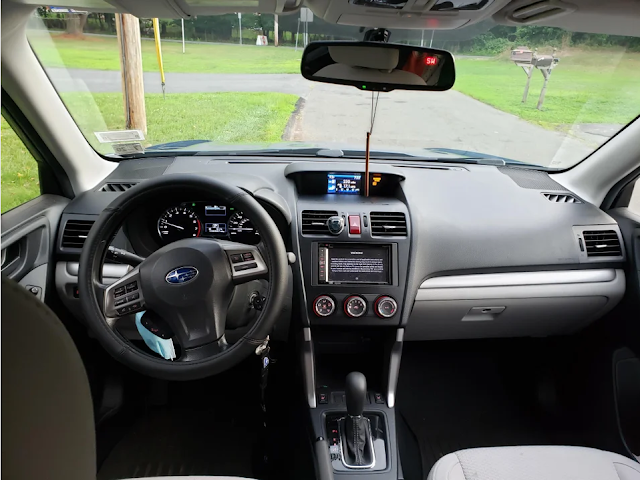
Interior shot

subaru-forester-clustert-swap-with-ssm3-5


Credits to @ Franku


Here is the good resource of VXDIAG Subaru Select Monitor 3

https://www.vxdiagshop.com/wholesale/vxdiag-subaru-ssm-iii-multi-diagnostic-tool.html